How to Make Sure Your Seeds Are Viable
With the garden installed I’ve been itching to get started with the planting!
Unfortunately between that Oklahoma weather and the issue of raised beds needing to be filled, it’s been a work in progress. (That’s one definite advantage of planting in the ground – the dirt is already there.) Luckily I found a local company that does large soil sales at a good price so with the order placed I just have to be patient… Which is hard.
To make use of the time until the dirt is delivered I’ve started the process of germinating all my seeds. Which isn’t strictly necessary, but it’s a good idea for me.
To Germinate or Not to Germinate
Germinating is basically prepping your seeds before putting them in the dirt.
Seeds all have their own conditions in which they do their best, some like to be soaked but others need heat or even fire to germinate.
To set your seeds up for success in sprouting looking up what your seeds need is a great idea… or you can do what I did and put them all in paper towels.
Well, almost all of them. My loofah seeds are getting special treatment but more on that in another post.
To Germinate!

Confession time, I’m not germinating for seedlings. I germinated my seeds to make sure they would sprout.
A lot of the seeds I’m growing are hand-me-downs from my sister, and all of them are from 2019.
Seeds can lay dormant for anywhere from years to centuries depending on the seed and the storage method so, in theory, all my seeds are good to go.
But in practice, I want to make sure that they’re all viable before I plant my raised beds.
It would be devastating to have nothing sprout for me this first year only to find out that they couldn’t sprout at all!
Enter a quick and easy germination method
The Paper Towel Method
If you need to find out if your seeds can sprout the paper towel method is a great option. All you need are paper towels, a spray bottle, some water, a pen, and some plastic sandwich bags.
Many seeds do well in warm moist environments so we’re simulating that through the power of DIY!
To try it yourself start by folding your paper towel down to a size that will fit in a sandwich bag. I used half-sized sheets and folded them twice vertically.

Then using your spray bottle wet down the bottom side of the paper towel pocket you’ve made and count out 10 seeds onto it.
Beansprout helped me to count out all of the seeds. Homeschooling double whammy, it was also a math lesson.

With your seeds placed fold the top of your pocket down and wet it with the spray bottle then slide the entire thing into the plastic sandwich bag and seal it up.

And voila! That’s it.
Now to put them in a window and wait.

Or in my case spread out across the top of my sewing table since it has both the only south-facing window in the house and a baby lock on the door that Beansprout hasn’t figured out yet.
That’s gardening with toddlers for ya.
Final Results

It worked!!
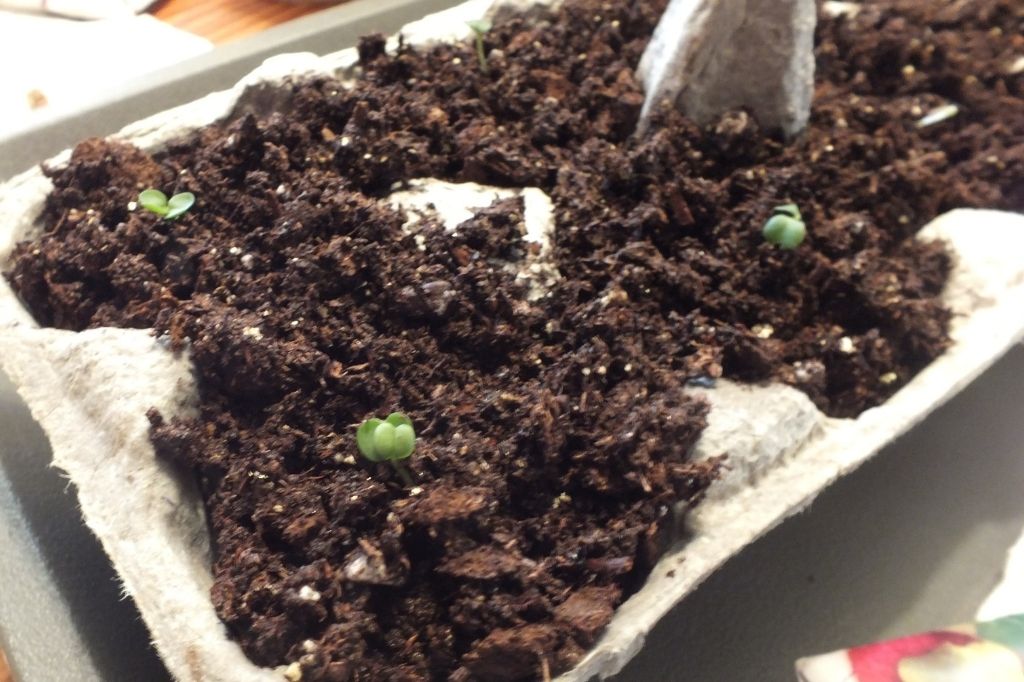
Some of them sat for too long and molded over, some of them grew these beautiful little sprout heads and tails, but all of them did something.
I’m not too worried that they aren’t all able to transplant since my goal was to see if they would respond to the combination of heat and moisture – and they did! (Most of my seeds need to get direct started outside anyhow.)
I am going to try and transplant as much as I can just for the sake of doing it but if it doesn’t work then I can still direct plant outside once my dirt comes in.
This is good because I made plenty of mistakes in handling these very precious babies – but more on that in the transplanting post.
What do you think?
Have you ever tried germinating seedlings with the paper towel method? Did it work out for you?
Comment below and let me know!
To start at the beginning of our homesteading journey you can go back to the post Starting Our Urban Homestead and to hear about how getting the dirt went check out Dirt for the Garden


